This Ronda yemas recipe brings a little piece of Andalusia home
The common assumption about Spanish sweets often focuses on familiar options like churros or *turrón*, but a much deeper world of confectionery awaits, one steeped in centuries of monastic tradition. While many visitors to Ronda are drawn to its dramatic gorge and ancient bullring, few realize that this historic town is also the birthplace of a delicate, sun-gold treat that beautifully embodies Andalusian culinary heritage. This ronda yemas recipe isn’t just a set of instructions; it’s an invitation to bring a piece of that rich history and flavour right into your kitchen, capturing the essence of a land where even the simplest ingredients yield extraordinary results. This guide walks you through every step, demystifying a dessert that seems complex but is surprisingly approachable once you know the secrets.
Quick Answer: Bringing Ronda’s Yemas Home
Making Ronda yemas at home involves transforming simple egg yolks, sugar, and water into exquisite, bite-sized confections that offer a taste of traditional Andalusian monastic sweets. The process requires careful temperature control and a delicate touch but rewards you with a truly authentic Spanish delicacy, perfect for a special occasion or as a unique gift that carries the essence of Ronda. If you enjoy cooking your way through Andalusia, fried eggplant with cane honey is another classic worth mastering.
The Heart of Ronda: Why Yemas?
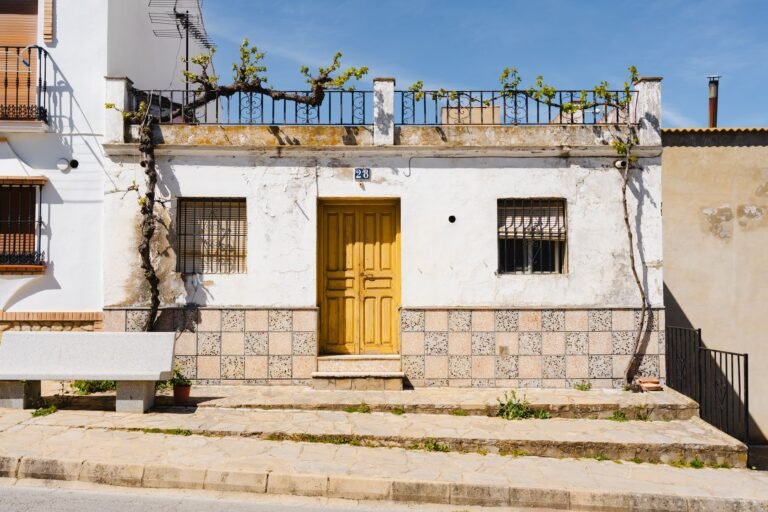
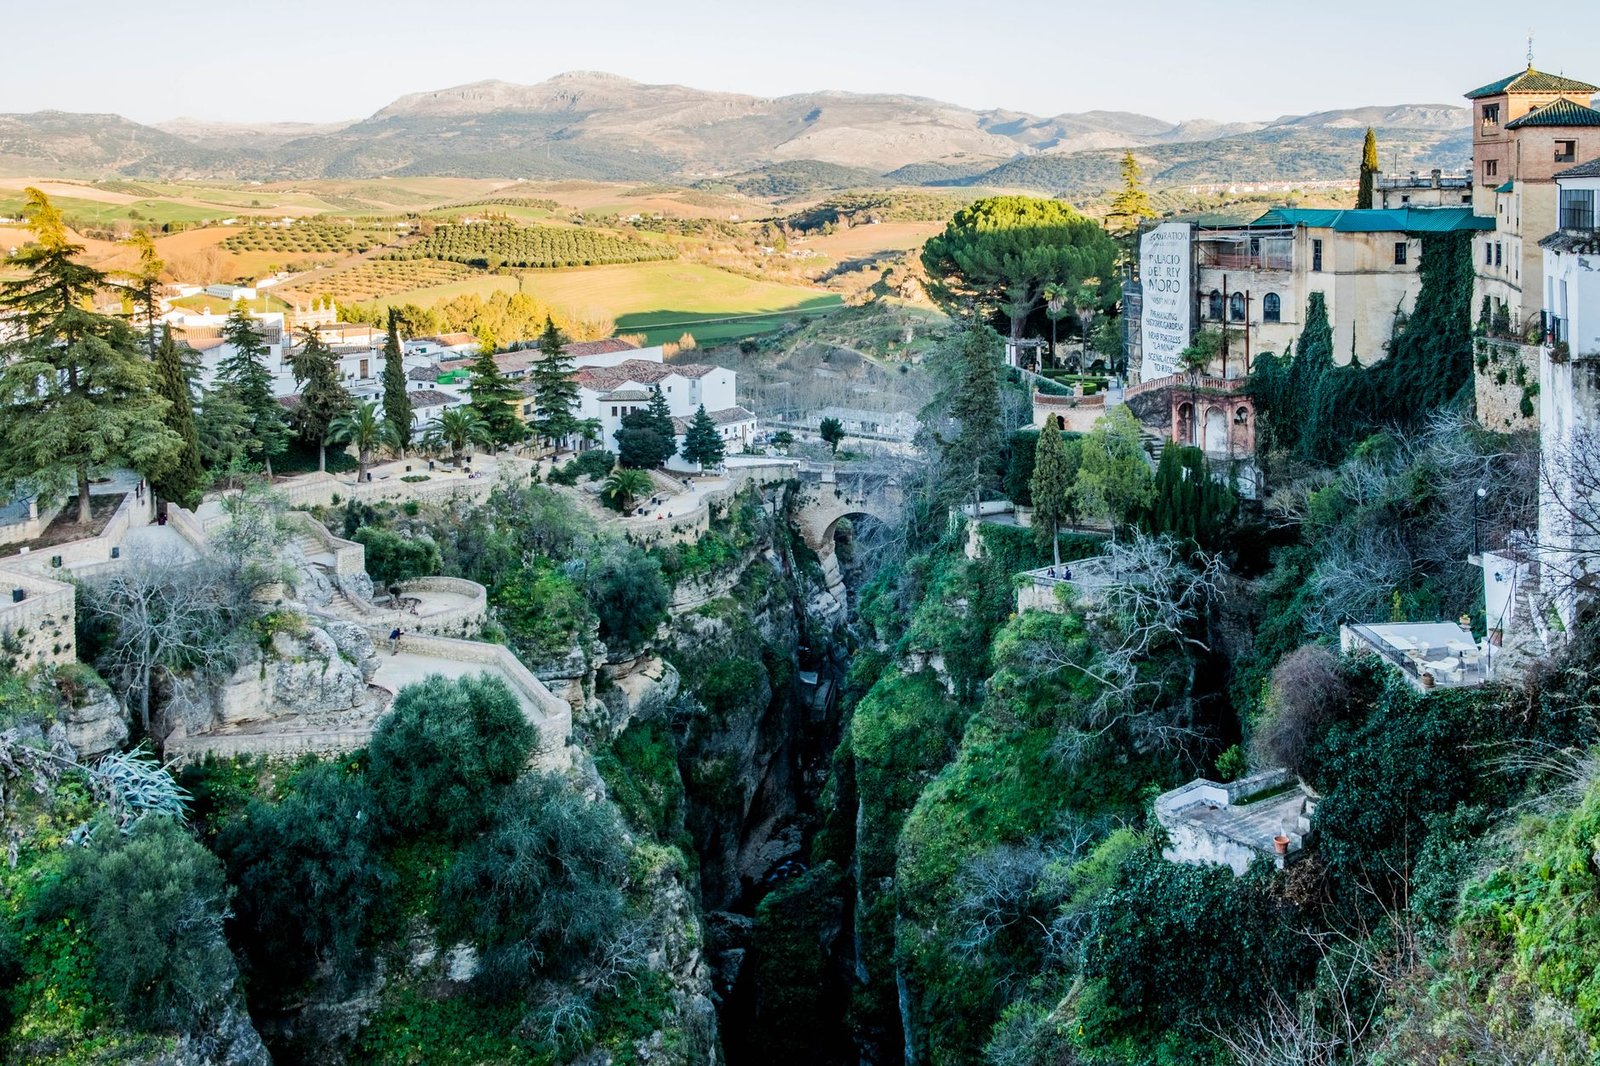
Walk through the cobbled streets of Ronda, past the Puente Nuevo or along the Alameda del Tajo, and you’re stepping into history. This town, perched dramatically above the El Tajo gorge, holds a unique place in Andalusia, not just for its physical grandeur but for its culinary legacy. Many Spanish regional sweets owe their existence to the convents and monasteries that dotted the landscape for centuries. These institutions, often self-sufficient, developed ingenious ways to use the abundance of ingredients available, particularly egg yolks.
Why egg yolks? Historically, egg whites were heavily used in various crafts, from clarifying wine (though we’re not discussing that here) to stiffening fabrics, leaving convents with a surplus of yolks. Rather than letting them go to waste, the nuns and monks created an array of exquisite confections, and the yemas (meaning “yolks” in Spanish) are perhaps the purest expression of this ingenuity. Ronda’s yemas are particularly renowned, a testament to the town’s rich past and its enduring connection to these sweet traditions. They are a direct link to a time when food was made with patience, resourcefulness, and a profound respect for ingredients.
The charm of yemas isn’t just in their taste – a rich, creamy, subtly sweet bite – but in the story they tell. They represent the quiet dedication within cloistered walls, the mastery of a few simple elements into something truly special. These aren’t just sweets; they’re edible pieces of culture. When you prepare them, you’re not just following a recipe; you’re engaging in a practice that has been passed down through generations. They offer a tangible connection to the deep-rooted traditions you encounter when you explore Spain, traditions that shape everything from Semana Santa in Seville to the daily rhythm of a small Andalusian town. It’s about appreciating the transformation of humble ingredients into something extraordinary through skill and care.
Understanding this background makes the experience of making and tasting yemas so much richer. It’s about more than just sugar and eggs; it’s about history, community, and the timeless artistry of Spanish kitchens. They offer a taste of a specific place, a specific history, and a culinary philosophy built on making the most of what you have with exceptional skill.
Gathering Your Toolkit: Ingredients and Equipment
Before you dive into the magic, you need the right tools and, crucially, the right ingredients. This recipe is simple in its components but demands quality and precision. Think of it like assembling an orchestra; each part must be perfect for the symphony to truly sing.
Essential Ingredients (for approximately 20-24 yemas):
- 12 large egg yolks: This is the star of the show. Use the freshest possible eggs you can find. The quality of the yolks significantly impacts the flavour and texture.
- 300g granulated sugar: Standard white granulated sugar works perfectly here. Avoid caster sugar as it dissolves too quickly, and brown sugar will alter the colour and flavour too much.
- 150ml water: Tap water is fine, but filtered water can provide a slightly cleaner syrup.
- Optional flavourings:
- Strip of lemon peel (from half a lemon, avoiding the white pith)
- Small cinnamon stick (about 5 cm)
- Extra granulated sugar for coating: Approximately 100-150g, depending on how heavily you coat them.
Crucial Equipment:
- Heavy-bottomed saucepan (2-litre capacity minimum): Essential for even heat distribution, preventing the syrup from burning.
- Whisk (balloon whisk): For mixing the yolks and later for stirring the syrup.
- Fine-mesh sieve: To ensure your egg yolks are perfectly smooth and to strain the syrup.
- Candy thermometer: Non-negotiable for success. Accuracy in temperature is key for the sugar syrup. A digital instant-read thermometer can also work, but a clip-on candy thermometer is ideal.
- Small heatproof spatula or wooden spoon: For scraping the sides of the pan.
- Small bowl of ice water: To cool the yolk mixture quickly.
- Pastry brush: For washing down the sides of the saucepan to prevent sugar crystallization.
- Small paper petit four cases (optional but recommended): For serving the finished yemas neatly. Look for ones about 2.5-3 cm in diameter.
- Plate or tray lined with parchment paper: For cooling the yemas.
- Shallow dish or plate: For holding the coating sugar.
The estimated cost for ingredients for one batch (making 20-24 yemas) should be between €4 and €7, assuming you already have basic pantry staples like sugar. The most significant cost will be fresh, quality eggs.
The Yemas de Ronda Process: Step-by-Step Mastery
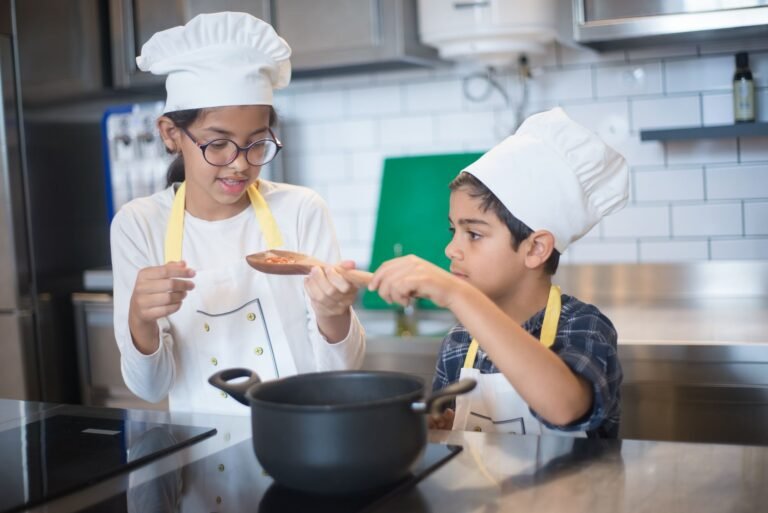
This recipe requires patience and attention to detail, but it’s not overly difficult. Think of it as a meditation in the kitchen. The skill level needed is medium – you don’t need to be a professional pastry chef, but you do need to follow instructions carefully and pay attention to temperatures. No special gear is required beyond the items listed above. Here’s how to do it:
Preparation Time: 20 minutes (plus cooling)
Cooking Time: 20-25 minutes
Chilling Time: 4 hours minimum (ideally overnight)
Yield: 20-24 yemas
- Separate the yolks: Carefully separate the 12 egg yolks from the whites. Place the yolks in a fine-mesh sieve set over a medium bowl. Gently press the yolks through the sieve with a spatula or the back of a spoon. This ensures a perfectly smooth yolk mixture, free of any chalazae or stray bits of white. Discard any remaining solids.
- Prepare the syrup: In your heavy-bottomed saucepan, combine the 300g granulated sugar and 150ml water. If using, add the lemon peel and cinnamon stick. Stir gently over medium-low heat until the sugar has completely dissolved. Do not boil yet. Once dissolved, increase the heat to medium-high and bring the syrup to a boil.
- Clean the sides: As the syrup boils, use a pastry brush dipped in a little water to wash down any sugar crystals that cling to the sides of the pan. This is crucial for preventing crystallization later.
- Cook the syrup: Clip your candy thermometer to the side of the pan, ensuring the tip is submerged but not touching the bottom. Continue to boil the syrup without stirring (gentle swirling is okay if needed) until it reaches 105°C (221°F). This is the “soft ball” stage, but we’re going for a specific temperature for consistency.
- Temper the yolks: Remove the syrup from the heat immediately when it reaches 105°C. Remove the lemon peel and cinnamon stick if you used them. Now, very slowly, in a thin, steady stream, pour about one-third of the hot syrup into the sieved egg yolks while whisking constantly and vigorously. This tempering step prevents the yolks from scrambling. Keep whisking until fully incorporated.
- Return to the pan: Pour the tempered yolk mixture back into the saucepan with the remaining syrup. Whisk constantly as you do this to ensure everything is well combined.
- Cook the yolk mixture: Return the saucepan to very low heat. This is where patience is key. Cook the mixture, stirring constantly with a spatula or wooden spoon, scraping the bottom and sides of the pan. You must keep stirring to prevent the mixture from sticking and cooking unevenly. The mixture will thicken and become like a very thick custard, pulling away from the sides of the pan. This process will take about 10-15 minutes. It’s done when you can draw a line with your spatula on the bottom of the pan and the mixture slowly flows back together. The temperature should reach approximately 85-90°C (185-194°F), but the visual cues are more important here than the exact temperature.
- Cool quickly: Immediately transfer the thickened yolk mixture to a bowl. Place this bowl into a larger bowl of ice water. Stir the mixture occasionally for about 5-10 minutes to cool it down quickly and prevent further cooking. Once it has cooled to room temperature, cover the bowl with cling film, pressing it directly onto the surface of the mixture to prevent a skin from forming.
- Chill: Refrigerate the mixture for at least 4 hours, or preferably overnight. It needs to be very firm and cold for shaping.
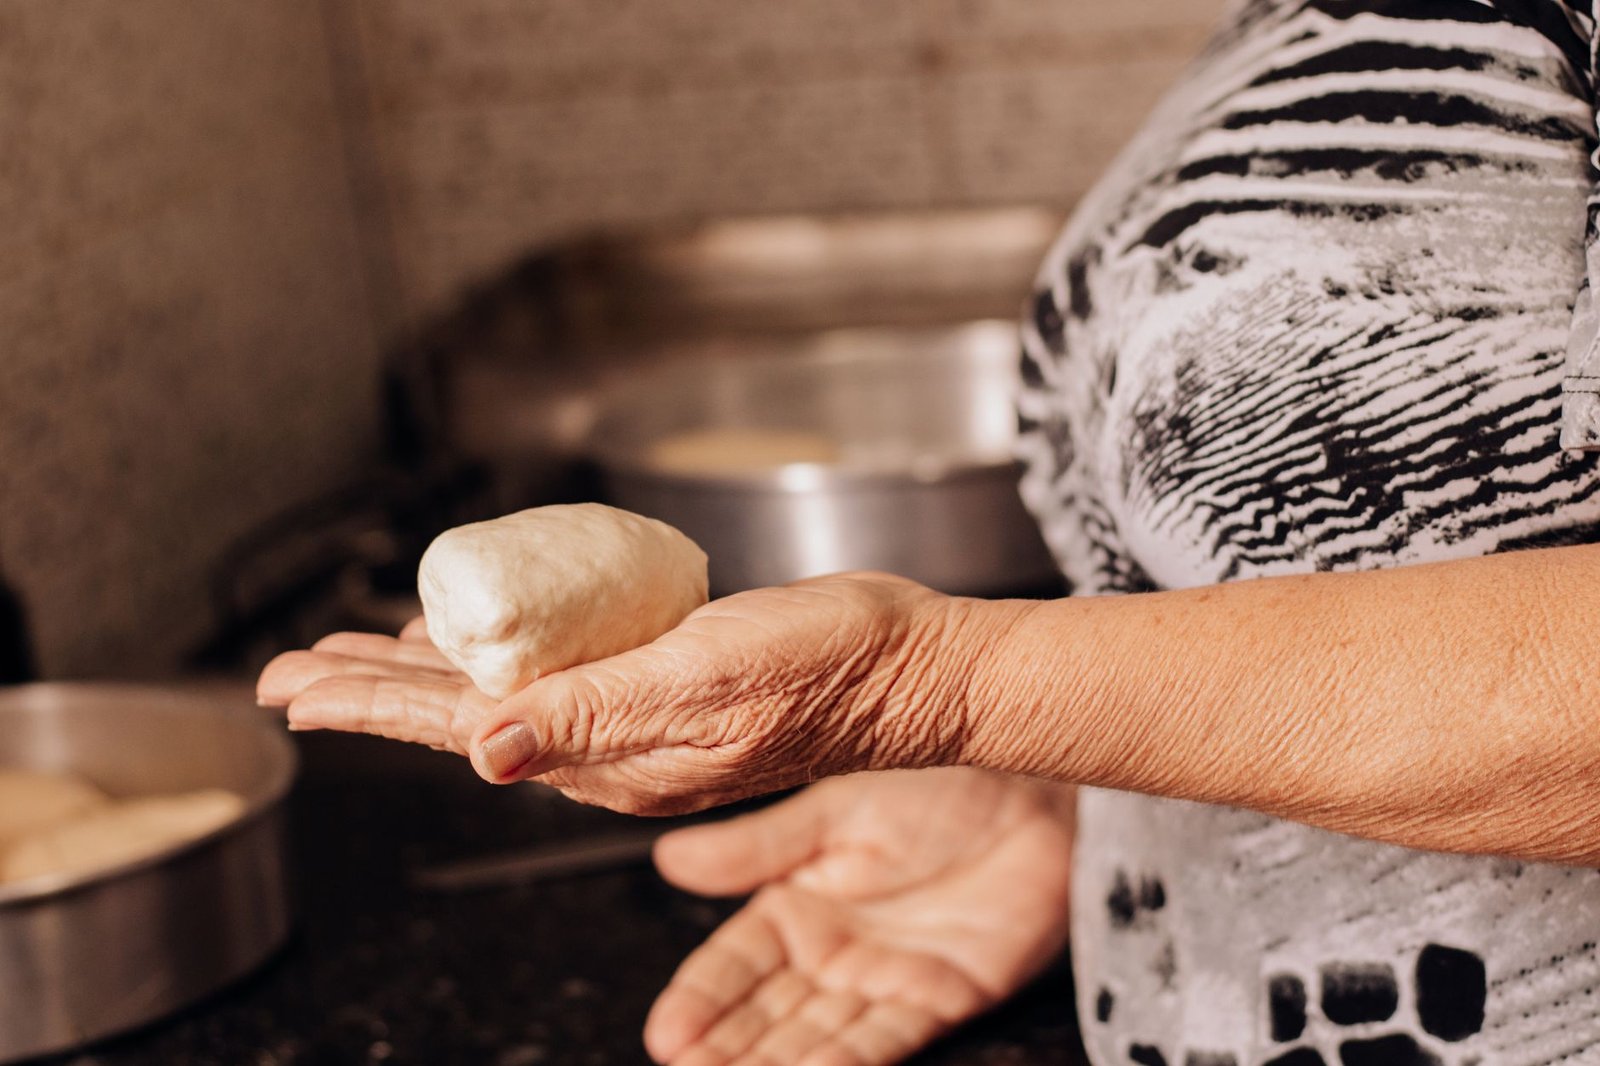
- Shape the yemas: Once thoroughly chilled and firm, lightly dust your hands with a little granulated sugar. Take small portions of the yolk mixture (about 15-20g each, roughly the size of a walnut) and gently roll them into smooth spheres.
- Coat and finish: Place the extra granulated sugar for coating in a shallow dish. Roll each shaped yema thoroughly in the sugar until it’s evenly coated. Place each finished yema into a small paper petit four case if using, or directly onto a parchment-lined tray.
Your yemas are now ready to be enjoyed! They are delicate, so handle them gently.
Achieving Perfection: Common Pitfalls and Troubleshooting
While the process for Ronda yemas is straightforward, there are a few common stumbling blocks. Don’t worry if your first batch isn’t absolutely perfect; it’s part of the learning curve. These tips will help you navigate potential issues:
Table: Common Yemas Problems and Solutions
| Problem | Cause | Solution/Prevention |
|---|---|---|
| Syrup crystallizes | Sugar crystals on pan sides; stirring while boiling | Wash down pan sides with wet pastry brush; avoid stirring boiling syrup. |
| Yolks scramble | Syrup poured too fast into yolks; yolks not whisked enough | Pour syrup slowly, in a thin stream, while whisking yolks vigorously and constantly. |
| Mixture doesn’t thicken | Heat too low; not cooked long enough | Ensure low but consistent heat; continue stirring until thick and pulls from pan sides. Use visual cues. |
| Yemas are grainy/gritty | Sugar not fully dissolved in syrup; yolks not sieved | Dissolve sugar completely before boiling; sieve yolks thoroughly. |
| Yemas are too soft to shape | Not chilled enough; not cooked enough | Ensure mixture is thoroughly chilled (overnight is best); cook longer until very thick. |
| Yemas are too hard/dry | Overcooked the yolk mixture | Remove from heat promptly once thickened; cool quickly in ice bath. |
Tips for Consistent Success:
- Invest in a good candy thermometer: This is the single most important piece of equipment for this recipe. Eyeballing syrup temperature is a recipe for inconsistency.
- Prepare everything in advance: Have your yolks sieved, your ice bath ready, and your clean bowls at hand before you start cooking. The steps can be time-sensitive.
- Low and slow for the yolks: When you cook the yolk-syrup mixture, keep the heat truly low. It’s better to take an extra few minutes than to scorch the bottom of the pan or scramble the eggs. Constant stirring is not just a suggestion; it’s a requirement.
- Don’t skip the chilling: The chilling time is crucial for the mixture to firm up enough to be shaped into neat spheres. Trying to rush this step will only lead to frustration.
- Lightly dust your hands: A little extra granulated sugar on your hands prevents the sticky mixture from adhering too much, making shaping easier and cleaner.
Serving and Storing: Enjoying Your Andalusian Creation
Once your beautiful Ronda yemas are shaped and coated, the real pleasure begins. These aren’t just any sweet; they are a delicate indulgence, best savoured rather than devoured. Here’s how to make the most of your homemade Andalusian treats:
Presentation is Key:
Yemas look their best when presented neatly. Small paper petit four cases (available online or at baking supply stores for around €3-€5 for a pack of 100) are ideal for this. They keep the yemas from sticking together and highlight their vibrant, sunny colour. Arrange them on a platter or a small decorative plate.
What to Serve With Them:
Given their rich and subtly sweet flavour, yemas pair wonderfully with simple, warm beverages. A strong, dark coffee, perhaps an espresso or a traditional café con leche, provides a good counterpoint to the sweetness. Alternatively, a delicate black tea or a soothing herbal infusion would also be a lovely accompaniment. The goal is to let the distinct flavour of the yemas shine through without being overpowered.
Storage Best Practices:
Yemas, due to their high sugar content, keep quite well. Store them in an airtight container at room temperature for up to 3-4 days. For longer storage, you can keep them in the refrigerator for up to 10 days. If refrigerated, let them come to room temperature for about 15-20 minutes before serving to fully appreciate their texture and flavour. Freezing is not recommended as it can alter their delicate texture.
Gifting Your Creations:
These homemade yemas make for a truly thoughtful and unique gift. Package them in a small decorative box, perhaps with a ribbon, and they become a tangible piece of Spanish culinary tradition you can share. Friends and family will appreciate the effort and the authentic taste of Andalusia.
A Taste of Ronda, Anytime:
Think of your yemas as a culinary postcard from Ronda. Each bite can transport you back to those sun-drenched streets, the dramatic vistas, and the quiet dignity of a town steeped in history. They’re a reminder that sometimes, the simplest ingredients, when treated with care and respect for tradition, can create something truly extraordinary. It’s a sweet testament to the enduring character of Andalusian food culture, much like the refreshing simplicity of an Authentic Ajoblanco Malagueño Recipe.
FAQ: This Ronda yemas recipe brings a little piece of Andalusia home – Common Questions
How do Ronda yemas get their colour?
The distinctive, vibrant yellow-orange colour of Ronda yemas comes entirely from the egg yolks themselves. No artificial colourings are used. The quality of the eggs, particularly the richness of their yolks, directly influences the final golden hue of the sweets. Fresh, free-range eggs often yield the most intense and appealing colour.
Can I make yemas de Ronda without a candy thermometer?
While technically possible, making yemas de Ronda without a candy thermometer significantly increases the difficulty and risk of failure. The exact temperature of the sugar syrup (105°C) is crucial for tempering the yolks correctly and achieving the right consistency. Without a thermometer, you’re relying on visual cues and experience, which can lead to scrambled yolks or a syrup that’s too soft or too hard. For the best results, a candy thermometer is highly recommended.
How long do homemade yemas de Ronda last?
Homemade yemas de Ronda, stored in an airtight container at room temperature, will keep well for 3 to 4 days. If you need to store them for longer, they can be kept in the refrigerator for up to 10 days. Always allow refrigerated yemas to come to room temperature for about 15-20 minutes before serving to ensure the best texture and flavour. Freezing is not advisable.
What is the history behind yemas de Ronda?
Ronda yemas, like many traditional Spanish sweets, have their origins in the convents and monasteries of Spain. Dating back centuries, these religious institutions often had a surplus of egg yolks after using the whites for various tasks (such as clarifying wine or laundry starch). Resourceful nuns and monks developed numerous recipes to utilize these yolks, creating a rich legacy of confections. The yemas from Ronda gained particular renown for their delicate texture and flavour, embodying a tradition of simple ingredients transformed into something special through skill and devotion.
Bringing the recipe into your kitchen isn’t just about making a sweet; it’s an act of connection to the enduring culinary traditions of Andalusia. The process, while requiring attention, is deeply rewarding, offering a taste of history and the warm spirit of Spanish hospitality. From the careful tempering of yolks to the final delicate roll in sugar, each step is a tribute to a heritage that values quality ingredients and patient craftsmanship. Embrace the journey, and you’ll find that these little golden spheres offer more than just a momentary pleasure; they offer a genuine piece of Spain to savour. For more insights into Spanish culture and daily life, check out our Blog.
About the Author
After 15 years living and traveling across Spain, Caro knows this country in a way most travel writers never will. She’s not here to sell you a polished version of Spain, she’s here to show you the real one. Every guide on this site comes from her own experience: the restaurants she eats at, the routes she walks, the festivals she’s actually attended. She writes to cut through the noise and give you what actually matters. Learn more about Caro →