
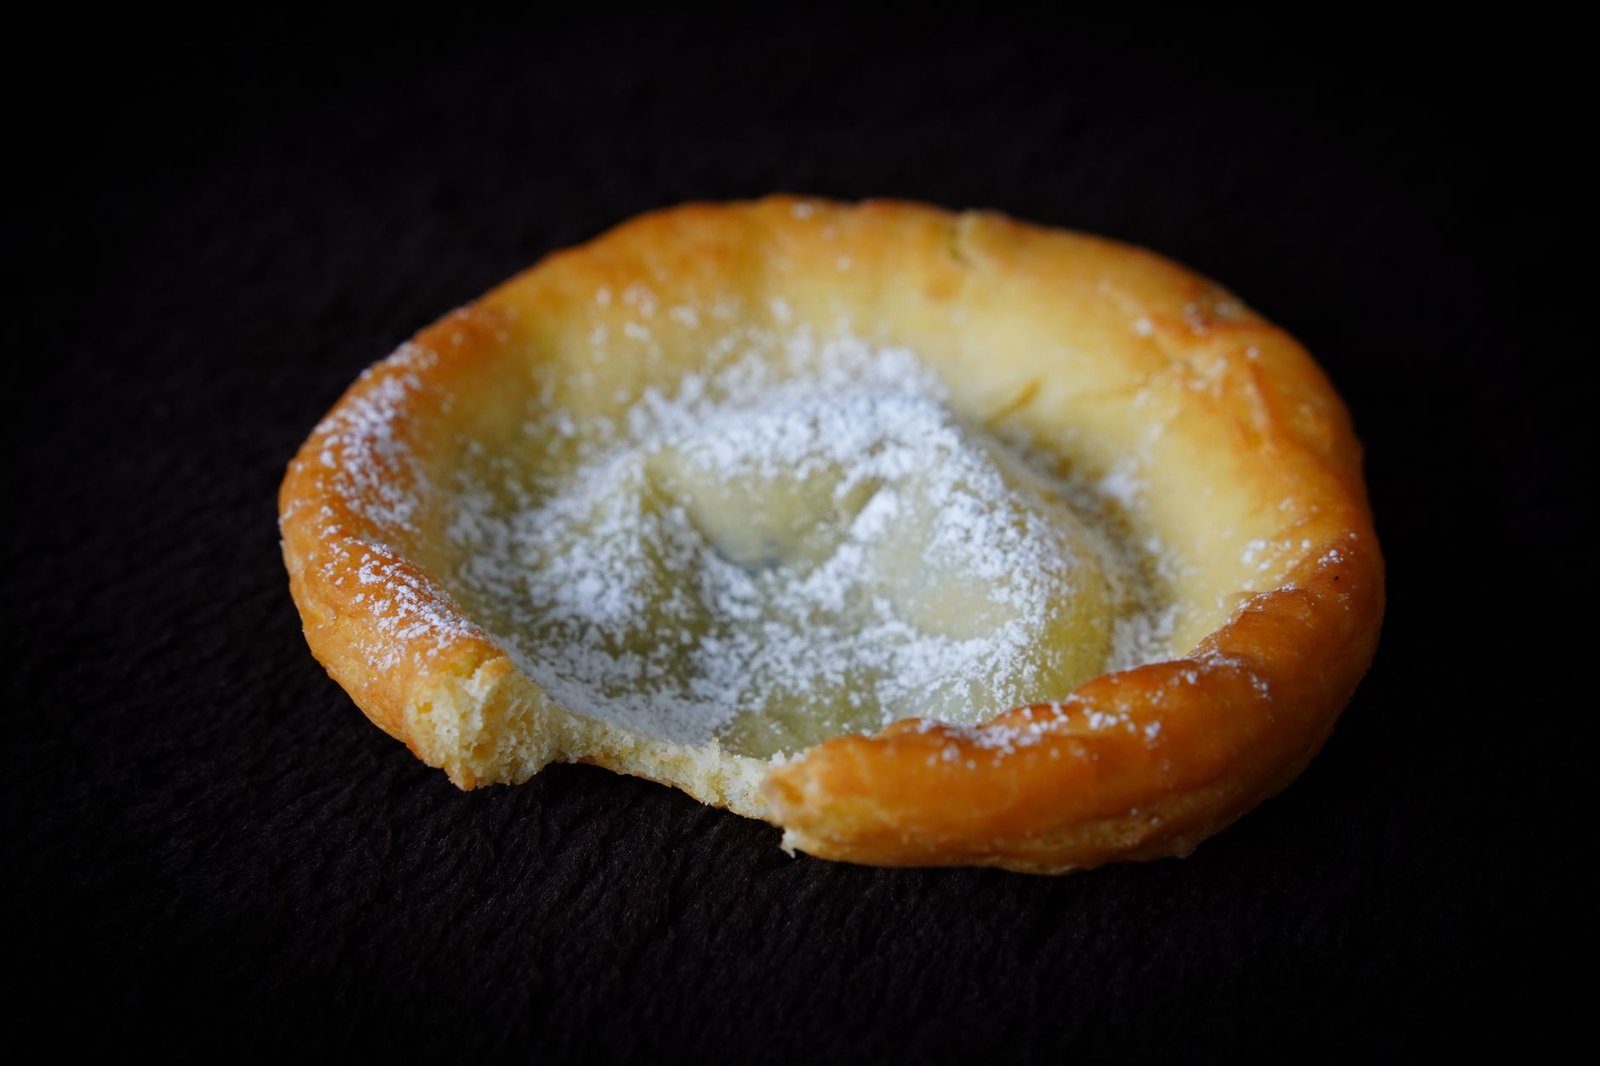
Ensaimada de Mallorca Recipe
Some links in this guide are affiliate links — if you book through them we may earn a small commission at no extra cost to you. It never changes what we recommend. Full disclosure.
The thought of baking a perfect ensaimada de mallorca recipe often feels like a formidable challenge, a special skill reserved for Mallorca’s most experienced bakers. Maybe you’ve tried to replicate that light, spiraled pastry at home before and felt a little lost, or perhaps you’ve simply resigned yourself to enjoying it only when you visit the Balearic Islands. But what if I told you that with a little patience and the right guidance, you absolutely can bring a piece of Mallorcan sunshine directly to your own kitchen? Having spent years here, discovering the nuances of Spanish cooking, I’ve refined this recipe to help you achieve that authentic texture and flavour, making the process not just achievable, but genuinely rewarding.
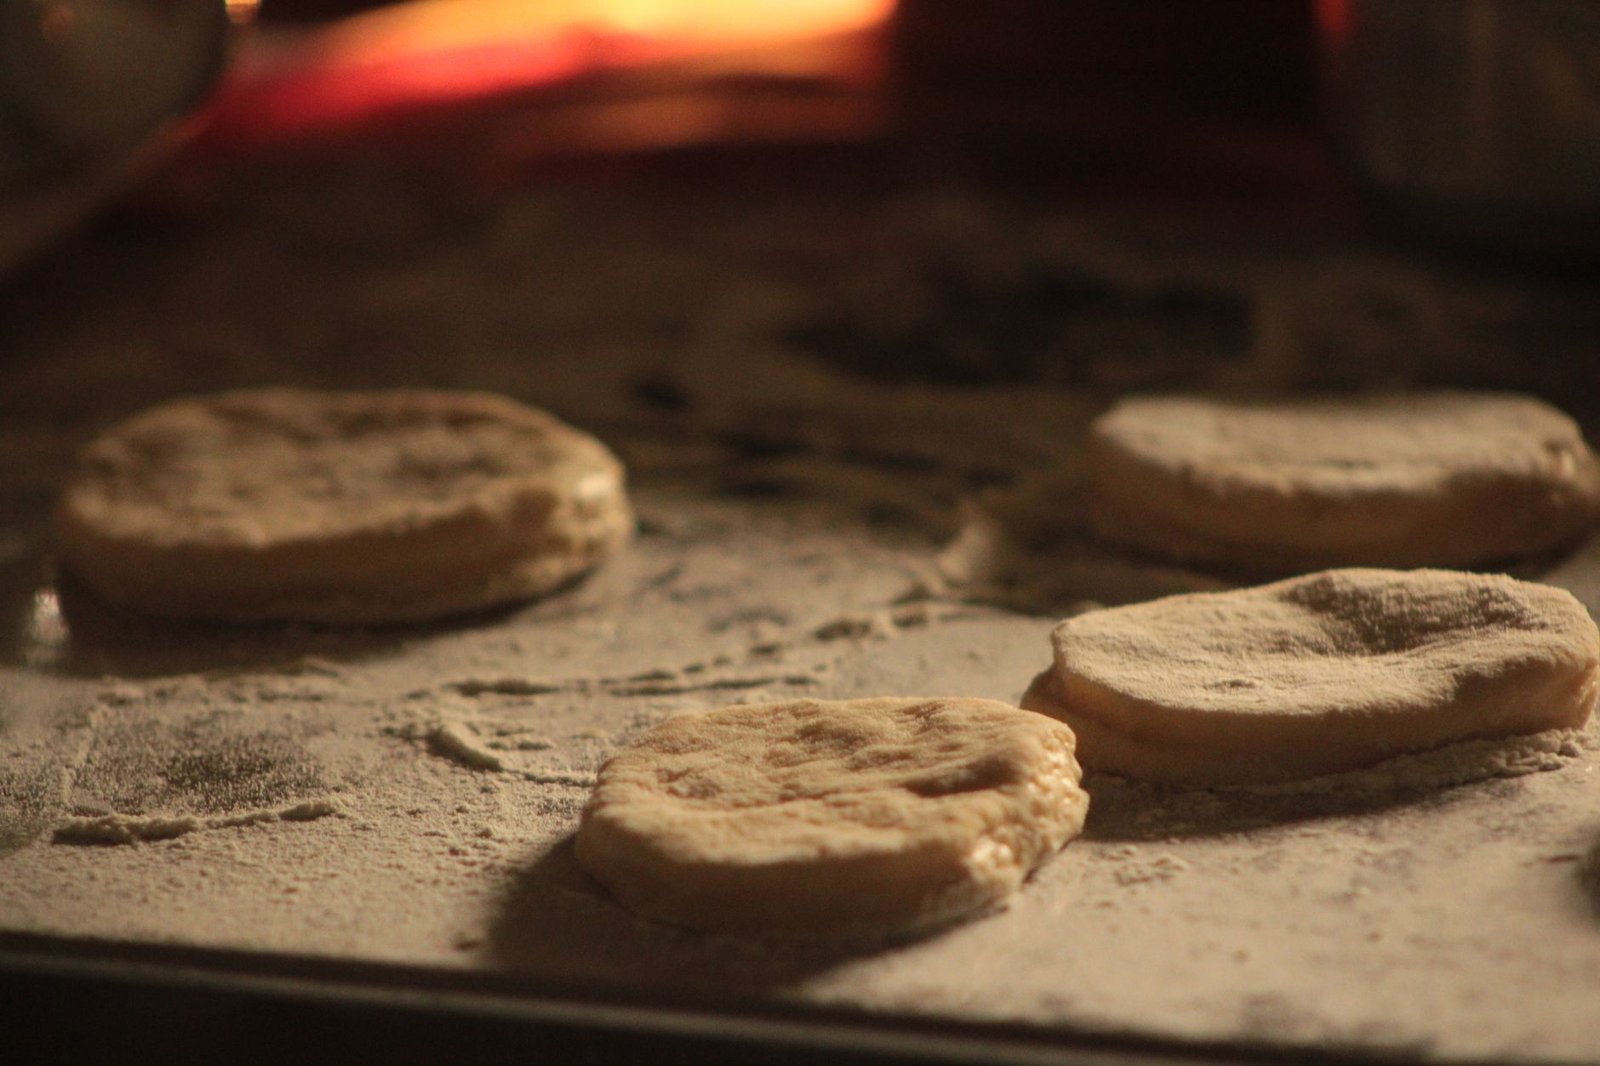
Quick Answer: My best Ensaimada De Mallorca Recipe for you to bake
Making ensaimada de Mallorca at home involves a relatively simple yeast dough that requires careful kneading, a precise lamination with lard, and two proofs, culminating in its iconic spiral shape before baking to a delicate, flaky perfection. The key lies in maintaining the correct dough consistency and ensuring the lard is evenly spread to create those characteristic layers.
The Soul of Mallorca in a Spiral: Why Ensaimada Matters
If you’ve ever set foot on Mallorca, you know the ensaimada isn’t just a pastry; it’s practically the island’s edible emblem. You see it everywhere, from bakery windows piled high with golden spirals, some as big as bicycle wheels, to the airport, where travellers carefully carry hexagonal boxes onto planes, bringing a piece of Mallorca home with them. It’s the quintessential breakfast treat, often enjoyed with a strong coffee or a cup of hot chocolate thick enough to stand a spoon in. It’s also a staple at afternoon meriendas, a sweet moment of pause in the day.
The ensaimada has a history stretching back centuries, likely with Arabic influences given the use of lard (saim in Mallorquín, hence ensaimada) and the spiral shape found in various pastries across the Mediterranean. Traditionally, it’s a simple, unfilled pastry, dusted generously with icing sugar. But over time, bakers have introduced a range of fillings, the most classic being cabello de ángel (angel hair pumpkin jam), a sweet, fibrous preserve that offers a delightful textural contrast. You’ll also find ensaimadas filled with apricot jam, pastry cream (crema pastelera), or even a savoury version with sobrassada, though the plain one remains the benchmark.
What makes it so special isn’t just its shape or its heritage, but its texture. A well-made ensaimada is incredibly light, almost airy, with layers that gently separate when you pull it apart. It’s not a croissant, though it shares the laminated dough technique; it’s softer, less crisp, and uniquely satisfying. Achieving this at home might seem daunting, especially with its reputation, but I assure you, the effort you put into each step will be evident in the final, delicious result. It’s a connection to Mallorca itself, right there on your plate. If you’re ever planning a trip, exploring Mallorca Secret Coves To Visit can also bring you close to the island’s authentic spirit, just like this recipe.
Essential Tools and the Right Ingredients for Your Ensaimada
Before you even think about mixing, let’s gather everything you’ll need. The right tools and, crucially, the correct ingredients make all the difference in a laminated dough like this. Don’t be tempted to swap out ingredients without understanding the impact; ensaimada is specific for a reason.
Your Kitchen Arsenal:
- Stand Mixer with Dough Hook: While you can knead by hand, a stand mixer makes the process much easier, especially when developing the gluten for such a stretchy dough.
- Large Mixing Bowls: For proving the dough.
- Rolling Pin: A good sturdy one, preferably a French-style tapered pin, for achieving very thin dough sheets.
- Large Baking Sheets: Lined with parchment paper. You’ll need at least two, possibly more depending on the size of your ensaimadas.
- Pastry Brush: For spreading the lard.
- Kitchen Scale: Essential for accurate metric measurements.
- Cling Film or Damp Tea Towels: For covering the dough during proving.
- Sharp Knife or Pastry Wheel: For cutting the dough.
The Heart of Ensaimada De Mallorca Recipe: Ingredients (Metric)
This recipe yields two medium-sized ensaimadas (about 20-25 cm diameter each) or one very large one, which is perfect for a family breakfast.
- Strong Bread Flour (Harina de Fuerza): 500 g. This is non-negotiable. You need a high-protein flour (around 12-14% protein) to develop the strong gluten network required for stretching the dough super thin without tearing. Don’t use all-purpose flour; it won’t work.
- Warm Water: 250 ml (at about 35-40°C, like a warm bath).
- Fresh Yeast: 15 g (or 5 g active dry yeast, rehydrated). Fresh yeast gives a better flavour and rise for this type of dough.
- Granulated Sugar: 75 g.
- Egg: 1 large (about 60 g), at room temperature.
- Pork Lard (Manteca de Cerdo): 150-200 g, softened to room temperature. This is the authentic fat for lamination. It provides the unique texture and subtle flavour. If you absolutely cannot find lard, unsalted butter can be a substitute, but the result will be different, closer to a brioche or croissant.
- Pinch of Salt: 5 g.
- Icing Sugar (for dusting): Generous amount.
A note on lard: Authentic Mallorcan ensaimada uses pork lard (manteca de cerdo), not butter. Lard has a higher melting point and different crystal structure, which contributes to the characteristic flaky, yet soft, texture. Seek it out from a butcher or a well-stocked Spanish deli. Make sure it’s pure white, unsalted lard. Bring it to room temperature for at least 2 hours before you start, so it’s spreadable like a soft cream, not melted or hard.
Crafting the Silky Dough: The Heart of Your Ensaimada
This is where the magic really begins. The dough needs attention, but it’s a meditative process once you get into the rhythm. Remember, patience is your best friend here.
Step-by-Step Dough Preparation:
- Activate the Yeast: In a small bowl, dissolve the fresh yeast in the warm water with a teaspoon of the sugar. Let it sit for 5-10 minutes until frothy. If using dry yeast, follow the package instructions to rehydrate.
- Mix the Dry Ingredients: In your stand mixer bowl, combine the strong bread flour, the remaining granulated sugar, and the salt. Give it a quick whisk to distribute.
- Combine Wet and Dry: Pour the activated yeast mixture and the beaten egg into the dry ingredients. Attach the dough hook.
- Knead, Knead, Knead: Start the mixer on low speed until a shaggy dough forms, then increase to medium. Knead for a good 15-20 minutes. This is critical. The dough needs to become very elastic, smooth, and able to pass the “windowpane test” – if you stretch a small piece between your fingers, it should become translucent without tearing. This gluten development is what allows the dough to be stretched incredibly thin later.
- First Prove (Bulk Fermentation): Once the dough is silky smooth, gather it into a ball. Lightly oil a large bowl, place the dough in it, and turn it once to coat. Cover the bowl tightly with cling film or a damp tea towel. Let it prove in a warm place (ideally around 22-25°C) for 1.5 to 2 hours, or until it has doubled in size. This can be inside a slightly warm, turned-off oven, or simply on a kitchen counter away from drafts.

The Lamination Dance: Stretching and Spreading
This is the most distinctive part of the ensaimada process. It requires a clear, clean workspace and a gentle hand. The goal is to achieve a very thin, almost transparent sheet of dough.
- Prepare Your Surface: Lightly flour your work surface.
- Divide and Shape: Gently deflate the proved dough and turn it out onto the floured surface. Divide it into two equal portions if you’re making two medium ensaimadas. Shape each portion into a rough rectangle.
- First Stretch: Take one dough portion. Start stretching it with your hands, gently pulling and coaxing it outwards, or use your rolling pin. The aim is to make a very thin rectangle, roughly 40×30 cm. Don’t force it; if it resists, let it rest for 5 minutes, then continue.
- Spread the Lard: Now, using your pastry brush or a spatula, evenly spread half of your softened lard (about 75-100 g) over the entire surface of the dough, right to the edges. Don’t skimp, but don’t glob it either; an even, thin layer is best.
- Roll it Up: Starting from one of the longer sides, carefully and tightly roll the dough into a long, thin cylinder. Take your time to ensure it’s as tight as possible without squashing it. This creates the initial layers.
- Repeat for Second Ensaimada: If making two, repeat steps 3-5 with the second dough portion and the remaining lard.
You now have two long, lard-coated dough ropes. These are the building blocks for your spirals.
Shaping and Baking: The Signature Spiral and a Perfect Bake
The final shape is what makes an ensaimada instantly recognizable. This step is about forming that characteristic coil and ensuring a gentle, even bake.
Forming the Coil:
- The Second Stretch: Take one of your dough ropes. Gently start stretching it even further. You want to make this rope much longer and thinner, ideally 1.5 to 2 meters long. It should be about 1.5-2 cm in diameter. Lift it frequently to let gravity help stretch it, and ensure it doesn’t stick to the counter. This requires a light touch to avoid tearing but enough firmness to extend it.
- Create the Spiral: Once you have a very long, thin rope, begin to coil it onto a parchment-lined baking sheet, starting from the center and working your way outwards to form a spiral. Leave a little space between each turn, as it will expand significantly during the second prove. The spiral doesn’t need to be perfect, but aim for an even distribution.
- Repeat: Do the same for the second dough rope if you have one, placing it on a separate baking sheet or leaving ample space on the first.
Second Prove (Final Fermentation):
This is another crucial proving stage where the ensaimada develops its airy texture. It takes longer and needs a warm, humid environment.
- Cover and Prove: Lightly cover each coiled ensaimada with cling film (oil the cling film slightly to prevent sticking) or a very light, damp tea towel.
- Patience is Key: Let them prove in a warm place for a substantial amount of time – 8 to 12 hours, or even overnight. They should almost triple in size and become very puffy and light. The longer, slower prove allows for maximum flavour development and a wonderfully airy texture. Don’t rush this stage; it’s what differentiates a good ensaimada from a truly great one.
Baking to Golden Perfection:
- Preheat Oven: Once your ensaimadas are beautifully risen, preheat your oven to 180°C (350°F) conventional, or 160°C (325°F) fan-forced.
- Bake: Place one baking sheet with an ensaimada in the preheated oven. Bake for 20-30 minutes. The exact time will depend on your oven and the size of your ensaimada.
- Watch for Colour: Keep a close eye on it. It should turn a beautiful golden brown on top and be cooked through. If it’s browning too quickly, you can loosely tent it with aluminium foil.
- Cool: Once baked, remove the ensaimada from the oven and carefully transfer it to a wire rack to cool completely.
- Dust: Once cool, liberally dust with icing sugar using a fine sieve. This is the finishing touch and adds to the classic look and taste.
And there you have it! A proper, homemade ensaimada, ready to be enjoyed.
Enjoying Your Homemade Mallorcan Masterpiece
Now that your kitchen is filled with that wonderful, subtle aroma of sweet pastry, it’s time to truly enjoy the fruits of your labor. The best ensaimada is always a fresh one, ideally on the day it’s baked, but there are ways to savor it beyond that initial moment.
Serving Suggestions:
- Classic Breakfast: Serve slices with a strong Spanish coffee (a café con leche is perfect) or a rich, thick hot chocolate. Many Mallorcans enjoy it by dipping pieces directly into their drink.
- Merienda Treat: For an afternoon pick-me-up, enjoy it plain, or with a little extra jam on the side.
- Fillings (Optional):
- Cabello de Ángel: You can buy jars of this sweet pumpkin preserve in Spanish delis. Carefully cut your ensaimada in half horizontally after it cools, spread a layer of the jam, then replace the top.
- Crema Pastelera: Homemade pastry cream (egg yolks, sugar, milk, flour, vanilla) is a delicious, creamy filling. Ensure it’s fully cooled before filling.
- Apricot Jam: A simple, sweet tart jam works wonderfully.
Storage and Reheating:
Ensaimada is best eaten fresh, but it does keep well for a couple of days if stored correctly.
- Room Temperature: Store any leftover ensaimada in an airtight container at room temperature for up to 2-3 days. Avoid the refrigerator, as it tends to dry out yeast-based pastries.
- Freezing: You can freeze un-dusted ensaimada. Once fully cooled, wrap it tightly in cling film and then in foil, or place it in a freezer-safe bag. It will keep for up to 1 month. To reheat, thaw at room temperature, then warm gently in a low oven (150°C) for 10-15 minutes before dusting with icing sugar.
Troubleshooting Common Issues:
Even with the best intentions, baking can sometimes throw a curveball. Here are some common ensaimada issues and how to tackle them:
- Dough not rising: Check your yeast. Was it fresh? Was the water too hot or too cold? Ensure your proving environment is warm enough.
- Dough tearing during stretching: This usually means your gluten wasn’t developed enough during kneading, or you’re stretching too aggressively. Let the dough rest for 10-15 minutes to relax the gluten, then try again gently.
- Not flaky or airy: This can be due to not enough kneading (poor gluten development), not stretching the dough thin enough during lamination, or not using proper lard (butter can make it denser). The slow second prove is also key for airiness.
- Lard oozing out: Your lard might have been too soft or melted, or your dough wasn’t sealed tightly enough when rolled. Keep your kitchen cool if possible, and work quickly.
Don’t be disheartened if your first attempt isn’t perfect. Baking is a skill built on practice. Each time you make this ensaimada, you’ll learn a little more about your oven, your ingredients, and your own touch. It’s a culinary journey, much like exploring the unique food culture of the islands, whether you’re tasting Menorca Mahon Cheese or discovering the secrets of this spiral pastry.
FAQ: My best Ensaimada De Mallorca Recipe for you to bake – Common Questions
Can I make ensaimada with butter instead of lard?
While you technically *can* substitute butter for lard, the resulting pastry will have a different flavour and texture. Lard is traditional because it has a higher melting point and unique fat crystal structure, which contributes to the ensaimada’s characteristic lightness and flakiness. Butter tends to produce a result closer to a brioche or croissant, which is delicious but not truly an ensaimada.
How long does the ensaimada dough need to prove?
The ensaimada dough requires two proving stages. The first bulk fermentation typically takes 1.5 to 2 hours, or until doubled in size. The second, and most crucial, prove after shaping the spiral takes much longer – often 8 to 12 hours, or even overnight. This slow, extended prove is vital for developing the flavour and achieving the incredibly airy texture.
What type of flour is best for ensaimada?
You absolutely need a strong bread flour, often labelled “harina de fuerza” in Spanish. This flour has a high protein content (12-14%), which allows for significant gluten development during kneading. This strong gluten network is what enables the dough to be stretched incredibly thin without tearing, which is essential for the ensaimada’s layered structure. All-purpose flour will not yield the correct result.
Can I make the ensaimada dough in advance?
Yes, you can prepare the dough up to the first prove. After the dough has doubled, you can punch it down gently, cover it tightly, and refrigerate it for up to 24 hours. When you’re ready to proceed, take it out of the fridge and let it come to room temperature for about 30-45 minutes before you begin the lamination and shaping steps. The long second prove usually takes care of any advanced planning you might need.
| Ensaimada Stage | Approximate Time Required | Key Action |
|---|---|---|
| Yeast Activation | 5-10 minutes | Dissolve yeast in warm water and sugar. |
| Kneading Dough | 15-20 minutes | Develop strong gluten for elasticity. |
| First Prove | 1.5-2 hours | Bulk fermentation until doubled in size. |
| Lamination & Shaping | 30-45 minutes | Stretch dough, spread lard, roll, form spiral. |
| Second Prove (Critical) | 8-12 hours (or overnight) | Slow rise for texture and flavour. |
| Baking | 20-30 minutes | Until golden brown and cooked through. |
| Cooling & Dusting | 30 minutes + | Allow to cool completely before dusting. |
Bringing this iconic Mallorcan pastry into your home kitchen is more than just baking; it’s an act of culinary immersion, a way to connect with the heart of Spanish tradition. The patience and precise steps are a small investment for the incredible reward of a truly authentic ensaimada, a taste that will transport you directly to a sunny morning on the Balearic Islands. For more insights into exploring Spain’s rich culture and diverse regions, be sure to check out our main Blog for endless travel inspiration. And if you’re ever looking for a place to stay while exploring the island, you can compare hotel prices on Booking.com to find the perfect spot.
About the Author
After 15 years living and traveling across Spain, Caro knows this country in a way most travel writers never will. She’s not here to sell you a polished version of Spain, she’s here to show you the real one. Every guide on this site comes from her own experience: the restaurants she eats at, the routes she walks, the festivals she’s actually attended. She writes to cut through the noise and give you what actually matters. Learn more about Caro →